Design Space is a new feature available in Adobe Photoshop CC 2015 as a Technology Preview and although we could call it a workspace, we wouldn’t be entirely correct. A replacement interface I believe would be a more appropriate term since what it does is replace your usual Photoshop interface with a more minimalist one that has only the tools and adjustments a UI designer would need. This provides designers a more suitable and efficient workspace by reducing clicks and mouse movements.
Enable Design Space
IMPORTANT: Mac OS X 10.10 or Windows 8.1 64bit or higher are required and it only displays in English.
As I previously stated, Design Space is currently a Technology Preview and it needs to be manually enabled. To enable it you have to go to Edit > Preferences > Technology Previewsand check the box. After switching you should see a little introduction to Design Space.

Tab menus
Now let’s introduce it’s features and the differences it has with your usual Photoshop interface. Let’s start with the tabs, as you can see some of them are missing and we have a new one, Arrange which we can use to align objects, flip and group them in the layers panel among other things.

Creating a new document
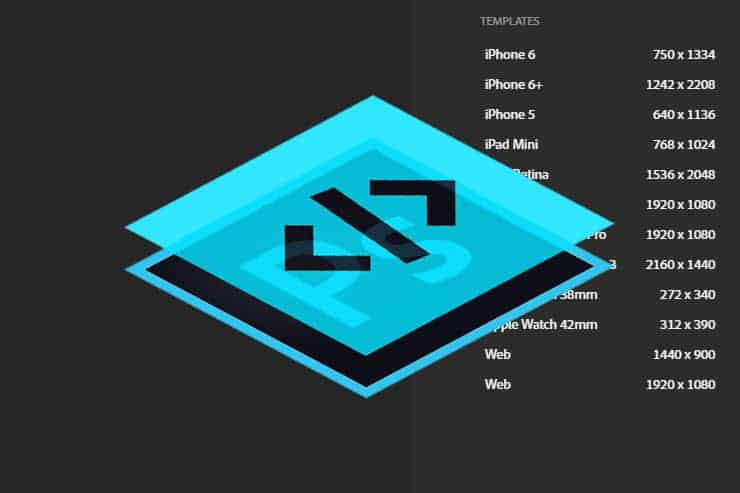
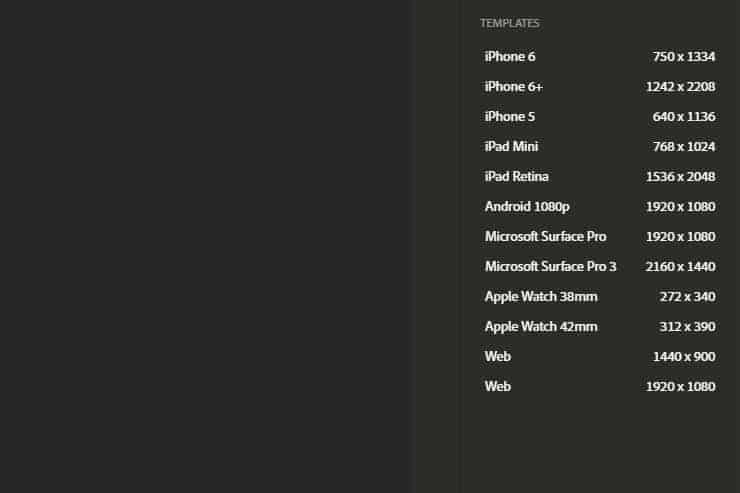
There’s two ways of creating a new document in Design Space, the easiest way is through the Template panel that you can see as you enter Design Space, which offers templates for the most popular devices. And of course there’s the old way through the File tab, there you can select New ( Ctrl + N ) and create a document with the same size as your last template used,New…( Alt + Ctrl + N ) will open the usual Photoshop window where you create a new document with your own settings and New From Template which does the same job as the Template panel.
Tools
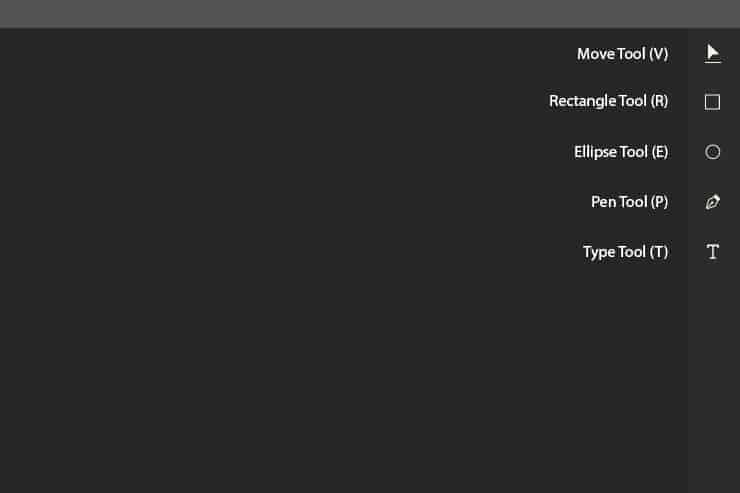
Design Space (Preview) offers a limited set of tools, their main use remains the same with a slight change to one tool in particular. Move Tool (V), the tool we use to move objects around the canvas is replaced with Select Tool (V), which can also be used to change a shape’s form by double clicking on it and navigate through layers. The other tools are Rectangle Tool (R).Ellipse Tool (E) and Pen Tool (P) for creating shapes and Type Tool (T) to insert text.
Adjusting objects: Align
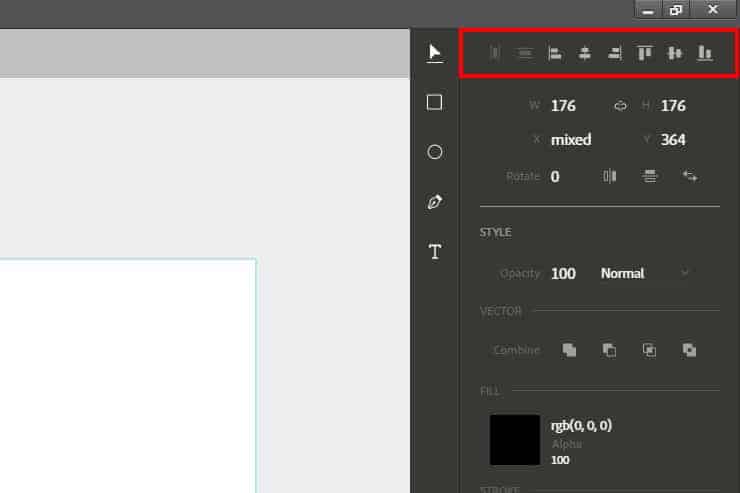
You can align objects through the Arrange tab or the align panel on the right. Two or more objects are required to be selected. To select multiple objects hold Shift and click on them.
Adjusting objects: Positioning and size
For a more precise sizing and positioning we’ll use the panel below the first one. In Design Space we set the values in pixels. W stands for Width and H for Height, we can lock them together to keep the ratio when we change one field. The fields below shows the position of the object on the canvas. Then there’s the option to rotate the objects, alternatively you can rotate objects on the canvas by having them selected and hovering the corners and lastly we have the options to change position between objects.

Styling objects: Vector
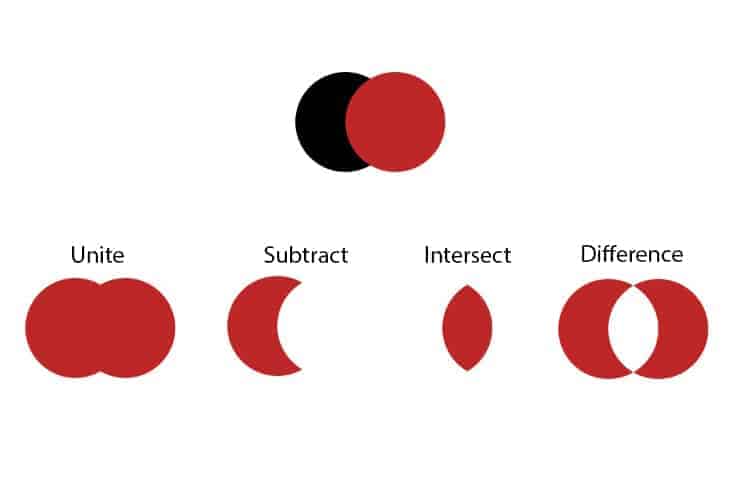
Okay, now let’s move on to styling. The first thing we can modify is the Opacity and the layer mode and after that there’s the Vector section, which you might find familiar if you worked with Adobe Illustrator. What it does is, it allows us to modify a shape or combine it with other shapes. The options we have are Unite, Subtract,Intersect and Difference, below you can see the result of using each option with two shapes. Both shapes have to be selected for this to work.
Styling objects: Fill
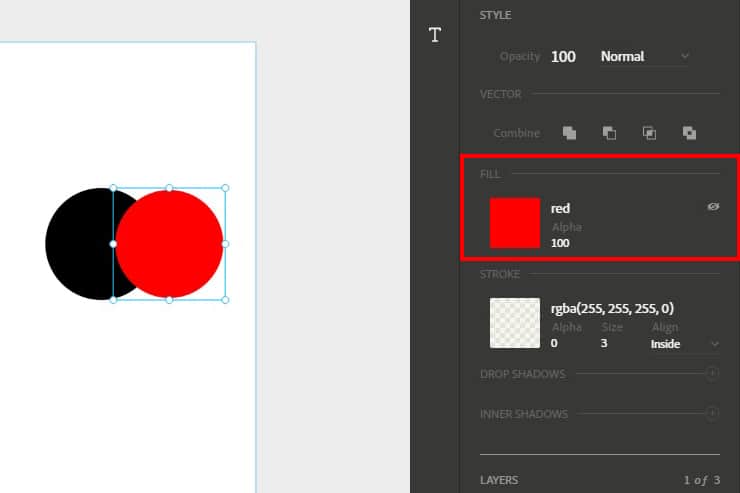
Fill can be assigned by either picking a color from the color picker that appears when you click the square or by setting it through the input field, which accepts Hexadecimal colors(#000000), RBG ( rgb(255, 0, 0)) and even common names such as “red”. Check these pages for more information: 1,2. The Alpha field is similar to Opacity but it will only affect the fill.
Styling objects: Stroke
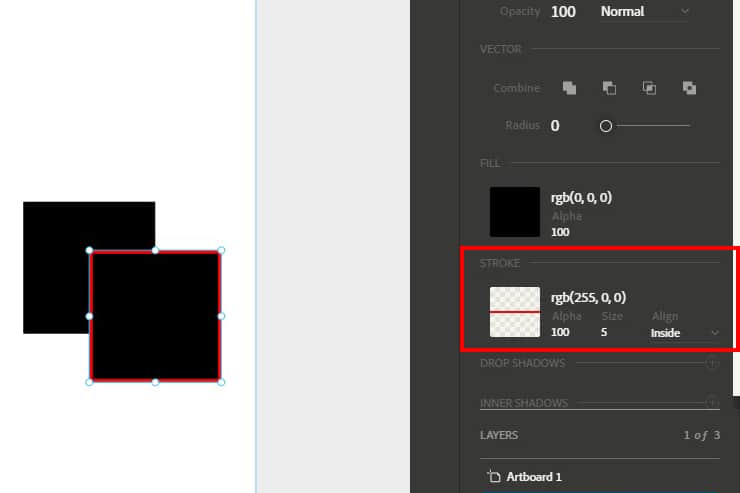
Stroke has what Fill has and two more fields, we can specify the size of the stroke and it’s alignment, we can set it on the inside, on the outside or on the center.
Styling objects: Shadows
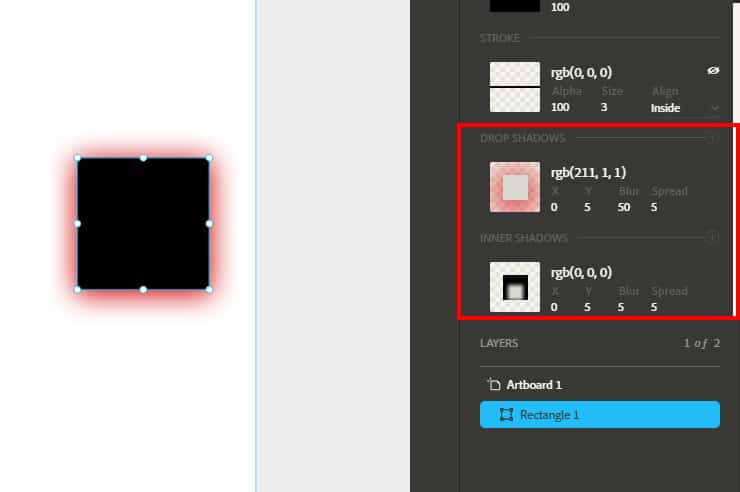
Lastly, we can add shadows on the outside and on the inside of an object. We can set the color, which makes it more of a outer glow, it’s positioning (X,Y), Blur and Spread. These two sections are activated by clicking on the + sign.
Styling objects: Text styling
When it comes to text the styling is pretty simple, we have the Typeface field to select the font and the rest of the fields that comes with it, like weight, size or letter.

Design Space Development
You can find out more about it and follow the development here.


0 comments:
Post a Comment